Saturday 24 February 2018

Fakearse continues to build a tabletop......

Hello all, and welcome the next instalment of cheap arse hobby builds with Papafakis. If you missed the first riveting post about this project, have a look at the previous one by clicking on this thing.


Ok, on with the show;

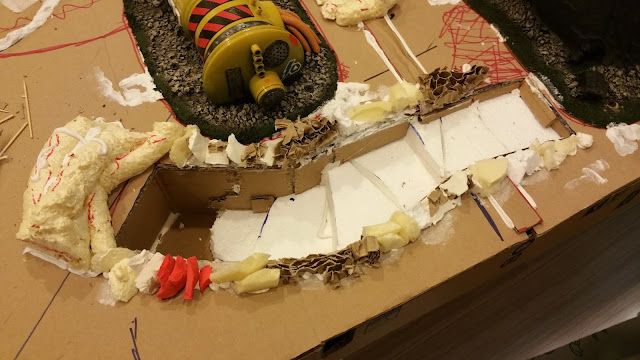
Building a sump pit? Oil reservoir? Toxic waste dump? A hole in the ground?

Used an old hot water service water chamber, train set tracks and a shower hose for this Power generator?
Transfer pump? Elaborate toilet? Who knows?

Intense picture of the hole in the ground! 

Cheap arse plastic dumbbell cut in half and more shower hose.

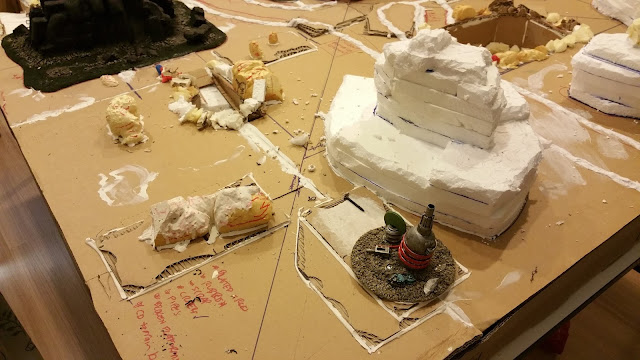
A polystyrene box remade into a more interesting shape. I then
 painted it with a sandy PVA mix and added a few gubbins.

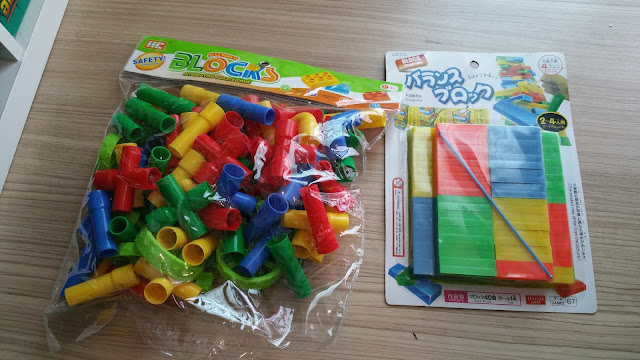
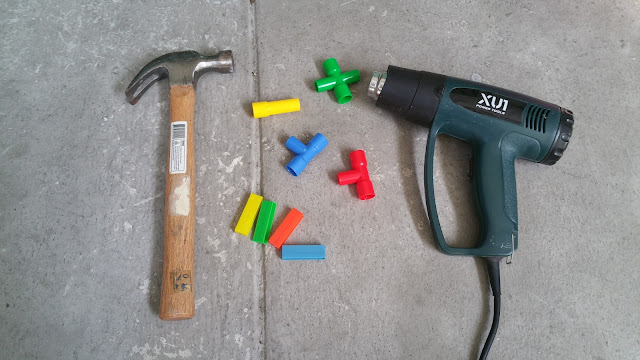
Toy stuff, great fodder for scrap heaps.

Only the finest tools were selected for the task of molding the plastic. 

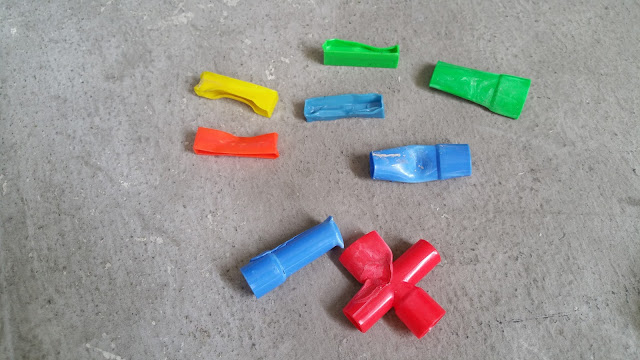
I smote these bits but good!!! 

Before I unleashed my mighty warhammer upon the next batch I attacked them with my heat gun first.
Take THAT stupid plastic!!!

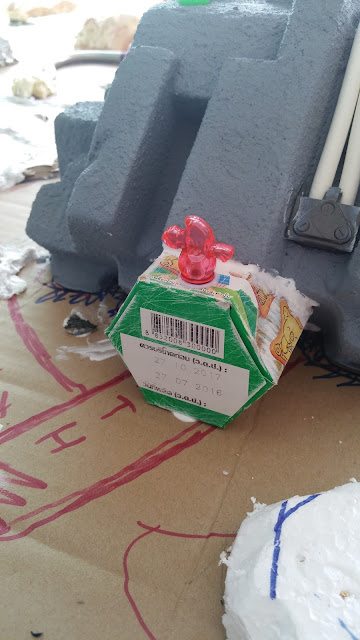
The entrance to the building was made from an old biscuit box.
A board game token was added for a sign.

I've got no idea what's going on in this shot.....just stuff n things.

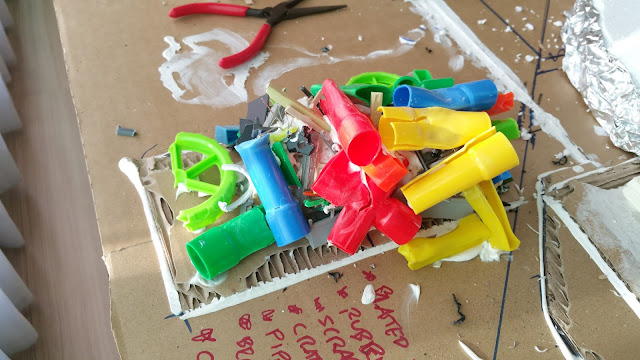
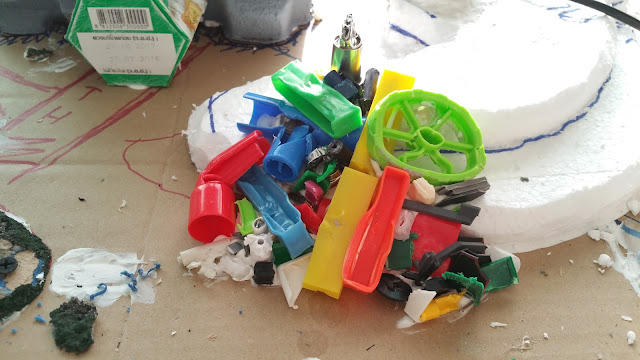
The scrap piles were constructed from the heavily molested plastic pipes and other hobby detritus.

A few resin milk cartons and a half finished terrain piece.

Ooooh, more of this shit.....just in a different location.

Resin barrels, heated and deformed to make them look......like deformed barrels.

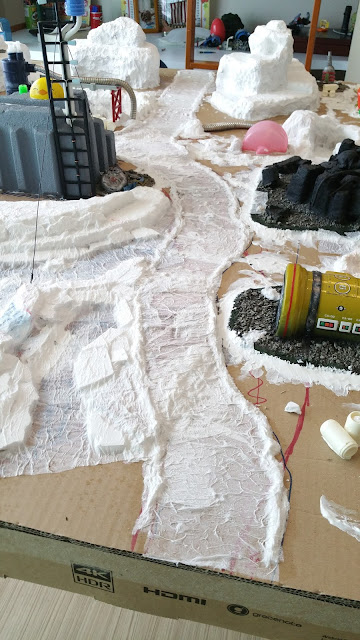
Roads were made out of bog roll and a weak PVA water mix.

I made some low hills in this area and then covered them with the arse paper and PVA mix.

I covered the foam hills with scrunched up foil to give them better texture. I then layered more unsoiled TP over it to give it even more
texture. The watchtower is another unfinished project.

I used so many rolls of shit wipes on this fucking board I lost count. 

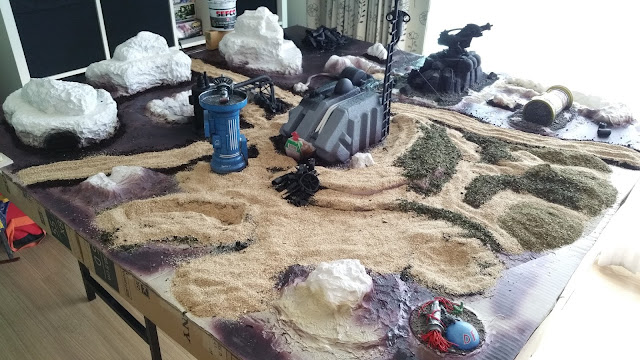
And here's the money shot, pre flock stage. All the elements that I wanted were complete.

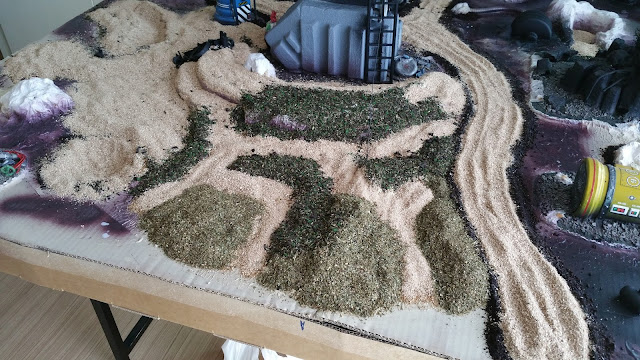
I used sawdust and stole copious amounts of the wife's tea, coffee and herb collection to flock this thing. She loves me so it's ok.

The shitty looking purple colour you can see on the board was just some old aerosol colour I had lying around. I used it to seal the
board before flocking, so the PVA would soak into the flock and not the board.

I know it looks like it's swimming in flock, and it is actually, but this was only temporary. I sprinkled heaps of flock onto the board to make
sure it was fully covered. Then I vacuumed it all up when it was dry and reused it.

Made this bodgy looking tool to lay some tracks on the roads....it failed.

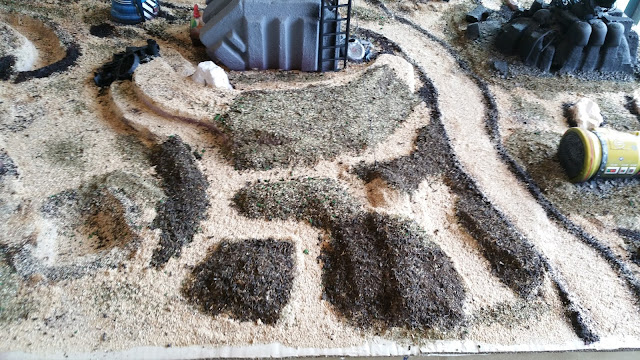
Flocked to buggery!

Entrance to somewhere, the possibilities are endless....I suppose.

So it is here too, if you think about it.

This area will eventually be a burnt out and blasted forest, eventually.

Hole in the ground coming along.

Quick paint job with acrylic emulsions. Completed with the cheapest electric spray gun money could buy.

It's looking more like a gaming table don't you think?


Alrighty! Next up is to add some doors to a few places, a ladder to one of the mountains, fix up a few areas that the nether rags failed to cover properly and then I can get started on the washing and drybrushing task.


Ok, I need to go, bye :)

Saturday 17 February 2018

Fakearse builds a tabletop.

Hi all,

Many moons ago,when I first moved to sunny Bangkok, I brought a small skirmish tabletop along with me. It's a pretty simple construction, just a grass mat glued to a mid sized whiteboard. If your mad keen to see what it looks like just have a look at the the last picture on this post I did ages ago. It's done the trick for a while, but it's a tad too small for anything other than a pure infantry battle. Also, it's and a little too fertile (green) for my vision of what a Sci-fi setting should look like, all blown up and shit.

So, not too long ago, while wishing I had a larger, blasted landscape for a tabletop, my wife and I decided that we wanted a new telly. What the hell has this got to do with a tabletop you ask? Simple, it came packaged in a massive, sturdy box. The moment I saw those poor delivery guys lugging that big arse box out of the back of their van I just knew it had the makings of a gaming table.......I got the vision you see.

Want to know more? Read on.......or is that "look on"?........whatever......just scroll down to see more, but only if you want to ok.......no pressure!


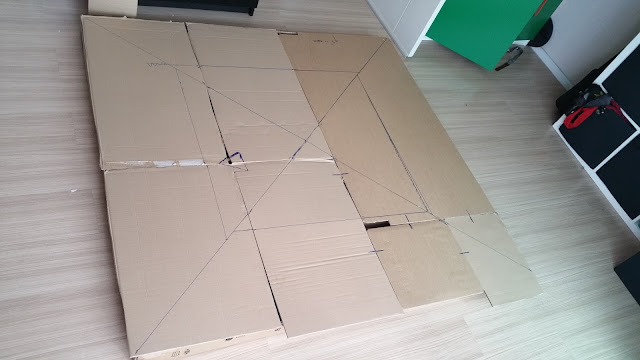
Original shape of the box.

Cut in half, along the spine, and opened up.

Hot glued it together with a few scraps and added some simple bracing around the edges. 

More bracing, to keep this fucker rigid as fuck. 

Then fully enclosed it by glueing scrap cardboard, with caulk, to the entire surface.   

Sketched out a rough plan, cut a few trenches and made a few hills.

Tried out a couple of old terrain pieces and added some more details. 

Screwed down the larger terrain pieces with wall screws.

Broke out the dunny roll & PVA and went to town with it.

Used scrap foam to make some rough rock features.

And used polystyrene to make some steps leading down to a blast door?

More bog roll. This stuff is great for adding texture. And it's cheap too!

Door from Ramshackle Games, cheers Curtis :)

Another door from Curtis, plus a poo looking shape for the top of the hill.

Old, half finished CD terrain. This will force me to finish them off.

All the terrain features glued and screwed down. This shits not going anywhere!

This tabletop is pretty big, measuring 165cm x 155cm x 7.5cm. And if I'm not careful during the rest of the build, with the box being made out of double ply cardboard, I could end up with a fucking heavy monstrosity. So, while I'm building it I'm being overly cautious with the weight of the materials I'm adding to it. Unfortunately, I'm the only one in our household that can lift heavy things, and seeing as I'll be the one storing it away vertically every time I'm finished using it, the final product has to be as light as possible. I bloody well hope it is anyway!

Anyway, there's obviously a lot more to be done, but I'm hoping to have it completed within the next few months.

Cheerio :)


Saturday 10 February 2018

Daemon's on the beach.

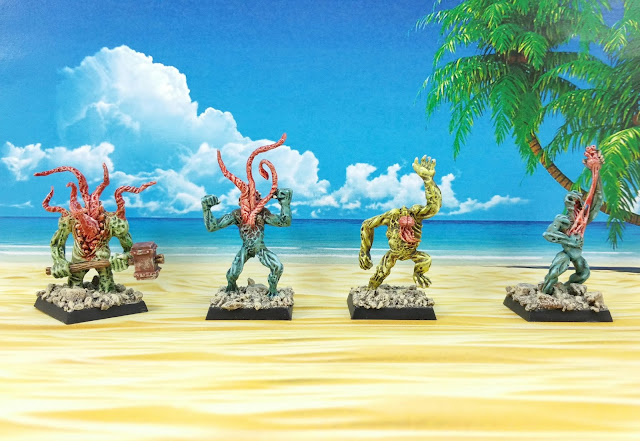
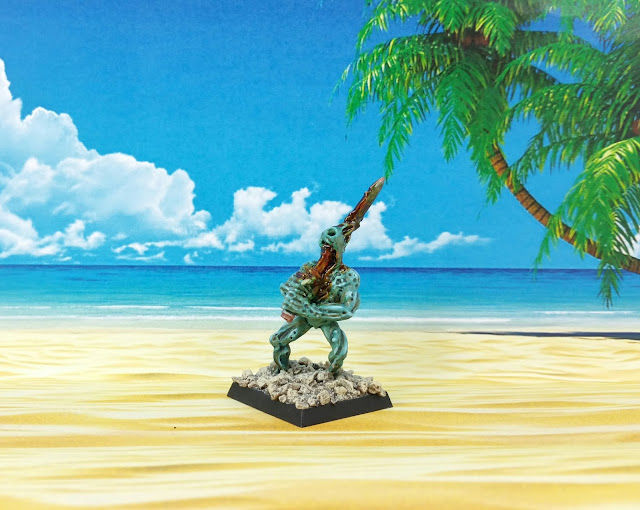
Bought and based coated these minis a long time ago, got the bug to finish them off the other day. They're the complete range of daemon's from Eureka miniatures. Not sure what else to say, so here, have a look see:


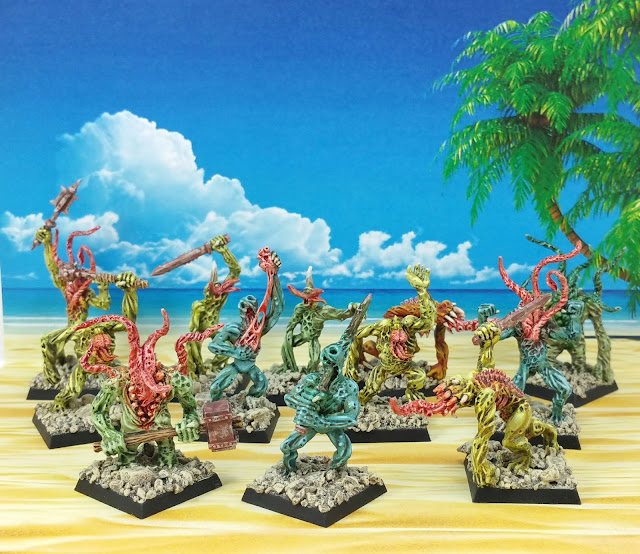
BEACH PARTY!!!!!!!!!!!!!!!

Like I said, I had these dude's base coated for years, but they were done in a lot of different colours. So much so that in the end, just didn't look right. Like a bunch of demonic rainbow warriors.....not a convincing look. So the other day I thought of an idea of how to "fix" them. I picked two ink washes, bar the red mini, and bathed them in it. Then I limited myself to just three colours to highlight them with, yellow, goblin green and turquoise.

Restricting myself to a few colours rectified my original error of kaleidoscope painting. They look like a pretty unified bunch to me now. A good learning experience for me I think, ala, you can save poorly painted mini's from the stripping jar.......sometimes :)

p.s. I added some gore effects with a few Tamiya clear colours after I'd varnish the bastards too. Job done!


Till next time fellas.